These homemade Thin Mint cookies are crisp, chocolatey mint cookies coated in a smooth, rich chocolate shell—just like the classic Girl Scout favorite. This easy copycat Thin Mints recipe delivers the perfect balance of cool mint and deep chocolate flavor, making them irresistible for any cookie lover. Made with simple pantry ingredients, these chocolate mint cookies are surprisingly easy to prepare at home with no special equipment needed. Whether you’re craving Girl Scout Thin Mints out of season or looking for a budget-friendly alternative, this recipe is the perfect solution.
Serve these homemade Thin Mint cookies chilled for that signature snap and refreshing minty bite. Perfect for holidays, dessert trays, or everyday treats, these cookies are guaranteed to bring a nostalgic taste of your favorite Girl Scout cookies right to your kitchen.

Ingredients
- 5 tablespoons unsalted butter
- 1/3 cup + 1 tablespoon granulated sugar
- 1 large egg yolk
- 1/8 teaspoon peppermint extract
- 1/4 teaspoon vanilla extract
- 2/3 cup all-purpose flour
- 1/4 teaspoon salt
- 1/4 teaspoon baking powder
- 2 tablespoons cocoa powder
- 1 bag 60 % bittersweet chocolate chips
- 1/8 teaspoon peppermint extract
- 1/4 teaspoon vegetable oil

Step by step instructions
Note: Find the full ingredient measurements and instructions in the recipe card at the bottom of this page.
- Prepare the chocolate mint dough.
- Put a sheet of wax paper on counter. Place the dough on the center of the wax paper. Put another piece of wax paper on top of the dough. Gently roll dough out until it’s around 1/4 inch thickness. Place on baking sheet and refrigerate for at least 3-4 hours. Chilling is mandatory.
- Cut the cookie dough into circles. Use a 2 inch round cookie cutter. Re-roll the remaining dough until you have roughly 18 cookies. Place cookies on a baking sheet and then in the freezer for about 10 minutes before baking them.
- Bake cookies and allow to cool completely. Use a fork to dip each cookie in chocolate coating. Place the baking sheet in the refrigerator to help the chocolate set.


Why you’ll love these thin mint cookies
- Rich Chocolate Mint Flavor – These thin mint cookies feature deep, chocolatey cookie layers infused with cool peppermint and coated in a smooth chocolate shell for the perfect balance of mint and chocolate in every bite.
- Crisp, Classic Texture – Just like the original, these homemade Thin Mint cookies have a crisp, snappy texture that becomes even more satisfying when served chilled.
- Easy Copycat Recipe – This Girl Scout Thin Mints copycat recipe is made with simple pantry ingredients, making it easy to recreate your favorite chocolate mint cookies at home any time of year.
- Perfect for Freezing – These cookies store beautifully in the freezer, giving you that signature cold, refreshing Thin Mints experience whenever a craving hits.
- Better Than Store-Bought – Made from scratch with real ingredients, these homemade Thin Mint cookies deliver a richer chocolate flavor and fresher mint taste than packaged versions.

Tips for the best thin mint cookies
- Chill the dough – Refrigerating the cookie dough before baking helps prevent spreading and creates that signature thin, crisp Thin Mint cookie texture.
- Roll cookies thin – For authentic copycat Thin Mints, roll the dough very thin so the cookies bake up crisp and light rather than soft or cakey.
- Use peppermint extract (not mint) – Peppermint extract gives that classic Thin Mints flavor, while regular mint extract can taste more like spearmint.
- Let chocolate fully set – Place dipped cookies on parchment paper and allow them to set completely so the coating hardens properly.
- Chill before serving – For the most authentic Girl Scout Thin Mints experience, refrigerate or freeze the cookies before serving for a cool, refreshing bite.
Frequently asked questions
Chilling your dough is a crucial step to having them stay perfectly round as soon as they’re baked!
I add the melted chocolate to a plastic bag and then snip a very small corner of the bag. You could also use a piping bag if you have any around! But you can totally skip this step too.
Adding a bit of oil (fat) will help prevent the chocolate from being too thick for dipping. Extracts are alcohol based, and it will help prevent the chocolate from seizing up too.
My favorite is in the freezer. Be sure to keep them in an airtight container or in a freezer safe ziploc bag. You could also keep these in the refrigerator for up to a week!
How to store and freeze
These cookies are best stored in the refrigerator for up to a week.
You could also store these in the freezer in an airtight container for up to 3 months. But I promise they won’t last long in the freezer as soon as you’ve tried one chilled!

Did you make this?
Please rate the recipe and leave a comment below. This helps other readers decide if this is a great recipe to bake. Be sure to tag me on Instagram using @schmidtybakes so I can see. I love to see what you’re baking!
Thin Mint Cookies

Ingredients
- 5 tablespoons (70g) unsalted butter (melted)
- 1/3 cup + 1 tablespoon (80g) granulated sugar
- 1 large egg yolk (room temperature)
- 1/8 teaspoon peppermint extract
- 1/4 teaspoon vanilla extract
- 2/3 cup (85g) all-purpose flour
- 1/4 teaspoon salt
- 1/4 teaspoon baking powder
- 2 tablespoons (10g) cocoa powder
Chocolate coating
- 1 bag (340g) 60 % bittersweet chocolate chips
- 1/8 teaspoon peppermint extract
- 1/4 teaspoon vegetable oil
Instructions
- Microwave butter in heatproof bowl for 30 seconds on high until full melted. Allow to cool for a few minutes.
- Add sugar and mix until combined. Add egg yolk, peppermint extract, and vanilla and mix until combined.
- Add flour, salt, baking powder, and cocoa powder. Mix until combined. Gently shape mixture into a ball.
- Put a sheet of wax paper on counter. Place the dough on the center of the wax paper. Put another piece of wax paper on top of the dough. Gently roll dough out until it’s around 1/4 inch thickness. Place on baking sheet and refrigerate for at least 3-4 hours. Chilling is mandatory.
- Cut the cookie dough into circles. Use a 2 inch round cookie cutter. Re-roll the remaining dough until you have roughly 18 cookies. Place cookies on a baking sheet and in the freezer for about 10 minutes before baking them.
- Preheat oven to 350° F. Bake for 10 minutes. Rotate the baking sheet halfway through so they bake evenly. Allow to cool completely before the next step.
Chocolate coating
- Add chocolate chips, peppermint extract, and vegetable oil to a glass bowl. Melt over a double broiler. For the microwave, melt in 15 second increments, stirring each time until completely melted and smooth.
- Dip each cookie completely into the chocolate. Use a fork to lift out. Gently tap the fork on the bowl to allow excess chocolate to drip off. Place on a baking sheet lined with parchment paper.
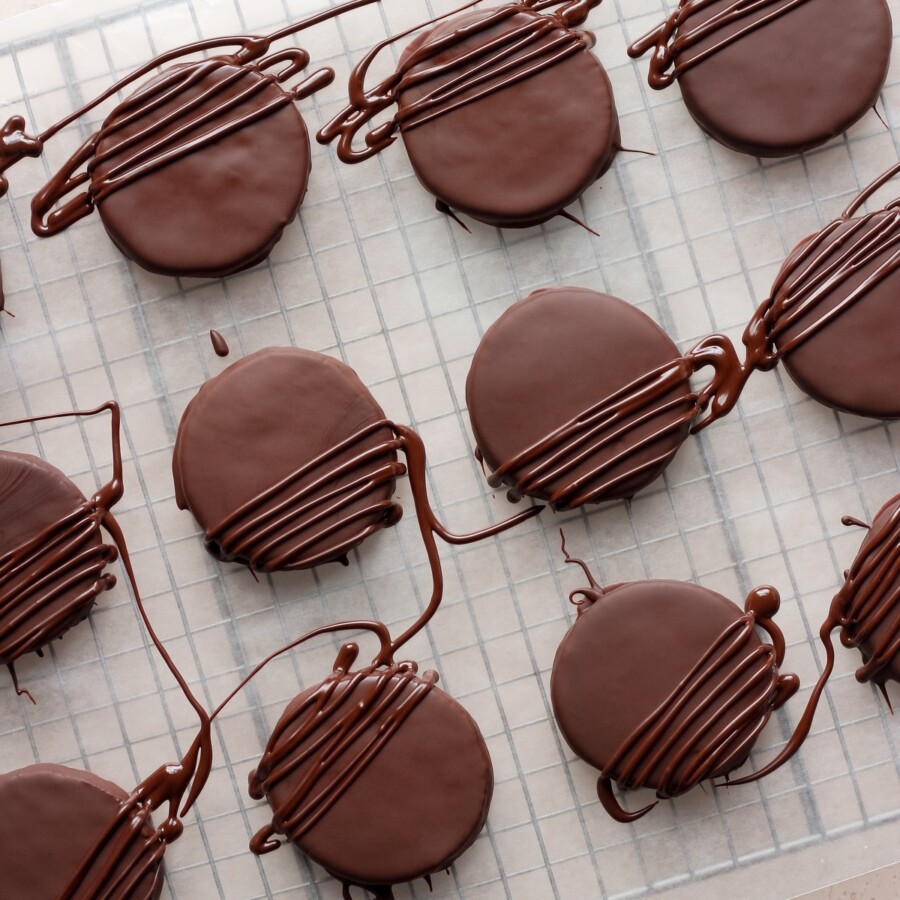
- Place the baking sheet in the refrigerator to help the chocolate set. After 10 minutes, add any extra chocolate to a piping bag (or plastic bag) and drizzle a bit across the top.
- Cover and store cookies in an airtight container for up to 3 days or in the refrigerator for up to a week. They taste even better cold!
The nutrition facts provided are calculated using a third-party tool and are estimates only. Actual nutritional content may vary based on the ingredients and brands you use, as well as portion sizes. For accurate results, please consult a registered dietitian or nutritionist.